
Choosing the Right Materials & Finishes for Your Graphics Kit
When you are designing a custom graphics kit, you aren't just picking colors—you are choosing how your bike will react to light, dirt, and wear.
To get the exact look you want from our web editor, it is important to understand how our kits are actually built. Every graphics kit we produce is made of two distinct layers: the base material and the protective finish. Here is how they work together to create a factory-level look.
How a Graphics Kit is Built: The 2-Layer System
- The Base Material (Layer 1): This is the foundation where your design is actually printed. It determines the underlying canvas (e.g., standard white, chrome, or holographic) and heavily affects how your printed colors will behave.
- The Finish / Lamination (Layer 2): This is the ultra-thick, protective top coat that shields your print from roost, knee braces, and UV rays. It also adds the final visual effect, such as high gloss, matte, or heavy glitter.
By combining different bases and finishes in our checkout, you can create entirely unique looks.
Layer 1: Premium Base Options
The base layer is your canvas. When you design your kit in our web editor, the base you choose at checkout will dictate how the final colors pop.
- Regular (White Base): The standard, high-quality base. Colors print exactly as they look on your screen with no metallic effects.
- Silver Chrome: A highly reflective, mirror-like metallic base.
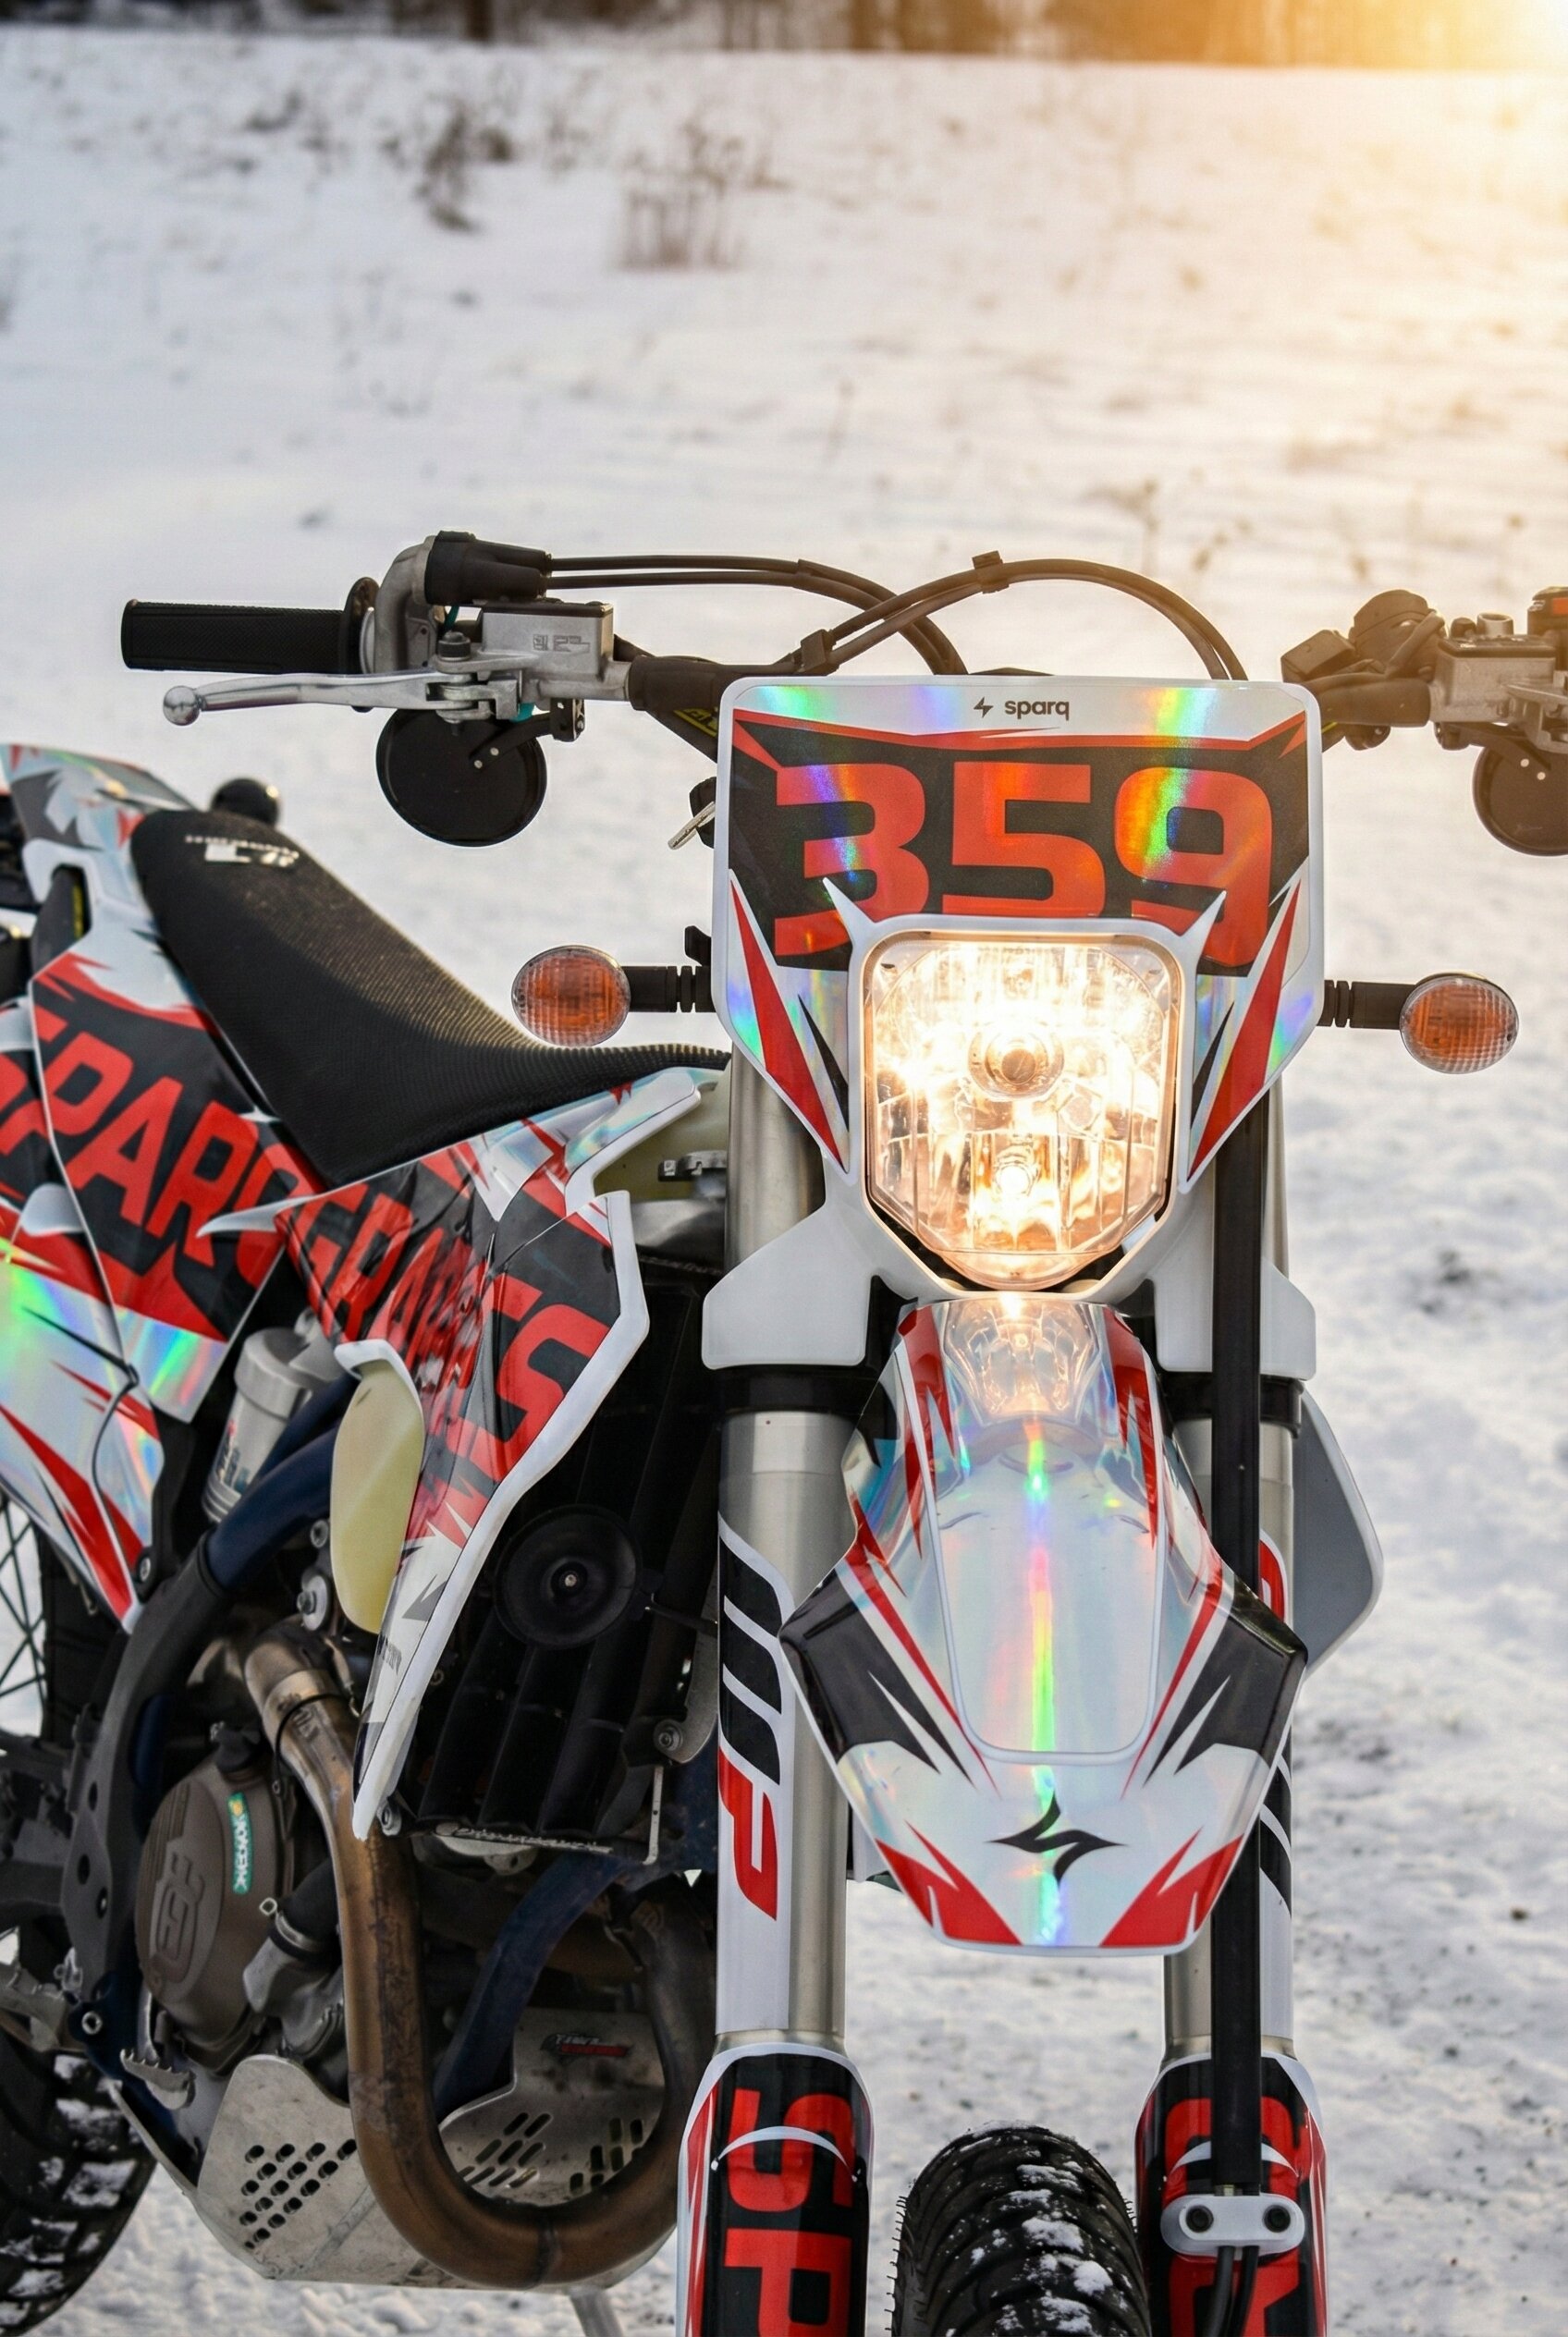
- Holographic Chrome: Similar to silver chrome, but the raw material shifts through the colors of the rainbow depending on the viewing angle.
🛠️ How Chrome Bases Work in Our Web Editor
If you select a Chrome or Holographic base, the ink behaves differently:
- Leave it White = Raw Chrome: Any part of your design that you leave pure white in the editor will not be printed on. It will show up as the raw, highly reflective metallic chrome.
- Colors = Metallic "Candy" Effect: Because our colored inks are slightly translucent, any color you print over a chrome base will take on a brilliant metallic finish.
- Black = Solid: Black ink remains solid and opaque, creating an aggressive, sharp contrast against the shiny chrome.
Layer 2: Premium Finish Options
The lamination layer determines how your graphics feel and how they catch the light.
- Glossy: The factory standard. A sleek, high-shine wet look that makes colors incredibly vibrant.
- Matte: A deep, non-reflective flat finish. It gives your bike a modern, stealthy, and sophisticated "tactical" appearance.
- Glitter: Injects thousands of metallic flakes into the top layer.
- Cosmic Glitter: Takes standard glitter to the next level with an iridescent, color-shifting sparkle.
- Fracture: An aggressive, shattered-glass holographic overlay that adds a highly custom, geometric texture to your design.
💡 Pro-Tips for Choosing Your Finish
- The Magic of Glitter: Glitter finishes are actually quite subtle in the shade or under flat clouds. But the moment your bike hits direct sunlight, stadium lights, or strong garage lighting, it pops like frost on a winter morning. It’s one of the best ways to make your bike stand out.
- What NOT to mix: If you choose a Full Holographic Base, do not pair it with a Matte Finish. The matte layer absorbs light and will completely cancel out the holographic color-shifting effect.
- The Stealth Chrome Combo: On the other hand, pairing a Silver Chrome Base with a Matte Finish looks incredible. It mutes the high reflection of the chrome, creating a highly refined, premium satin-metallic look.
Ready to Build Your Dream Kit?
Now that you know how the base and finish layers work together, the only limit is your imagination. Jump into our web editor, start dropping in your colors and logos, and build something unique.